Integrations
Part of No-code app integrations
Connecting an app to an approved business API
Define an approved API action, arrange its credential and owner, map the needed data, and check access for intended users.
Connect a no-code app to a business API after the system owner approves the specific operation, data and calling account. A connector's presence in an app builder does not grant permission to use every action it offers. Start with one task, such as looking up a request status, and define what a successful result must show.
Steps to Connect a No-Code App to an Approved Business API
- Define the business operationSpecify a clear task, such as 'Given an approved request ID, return its current status.'
- Review API documentationConfirm authentication method, required fields, usage limits, and supported endpoints.
- Set up an owned connectionAgree on the calling identity, authorisation process, and access renewal or revocation plan.
- Map data inputs and outputsAssign sources for each request field and define purposes for returned fields in the app.
- Test with real-world scenariosValidate success, error, timeout and unavailability responses using fictional data and intended user identities.
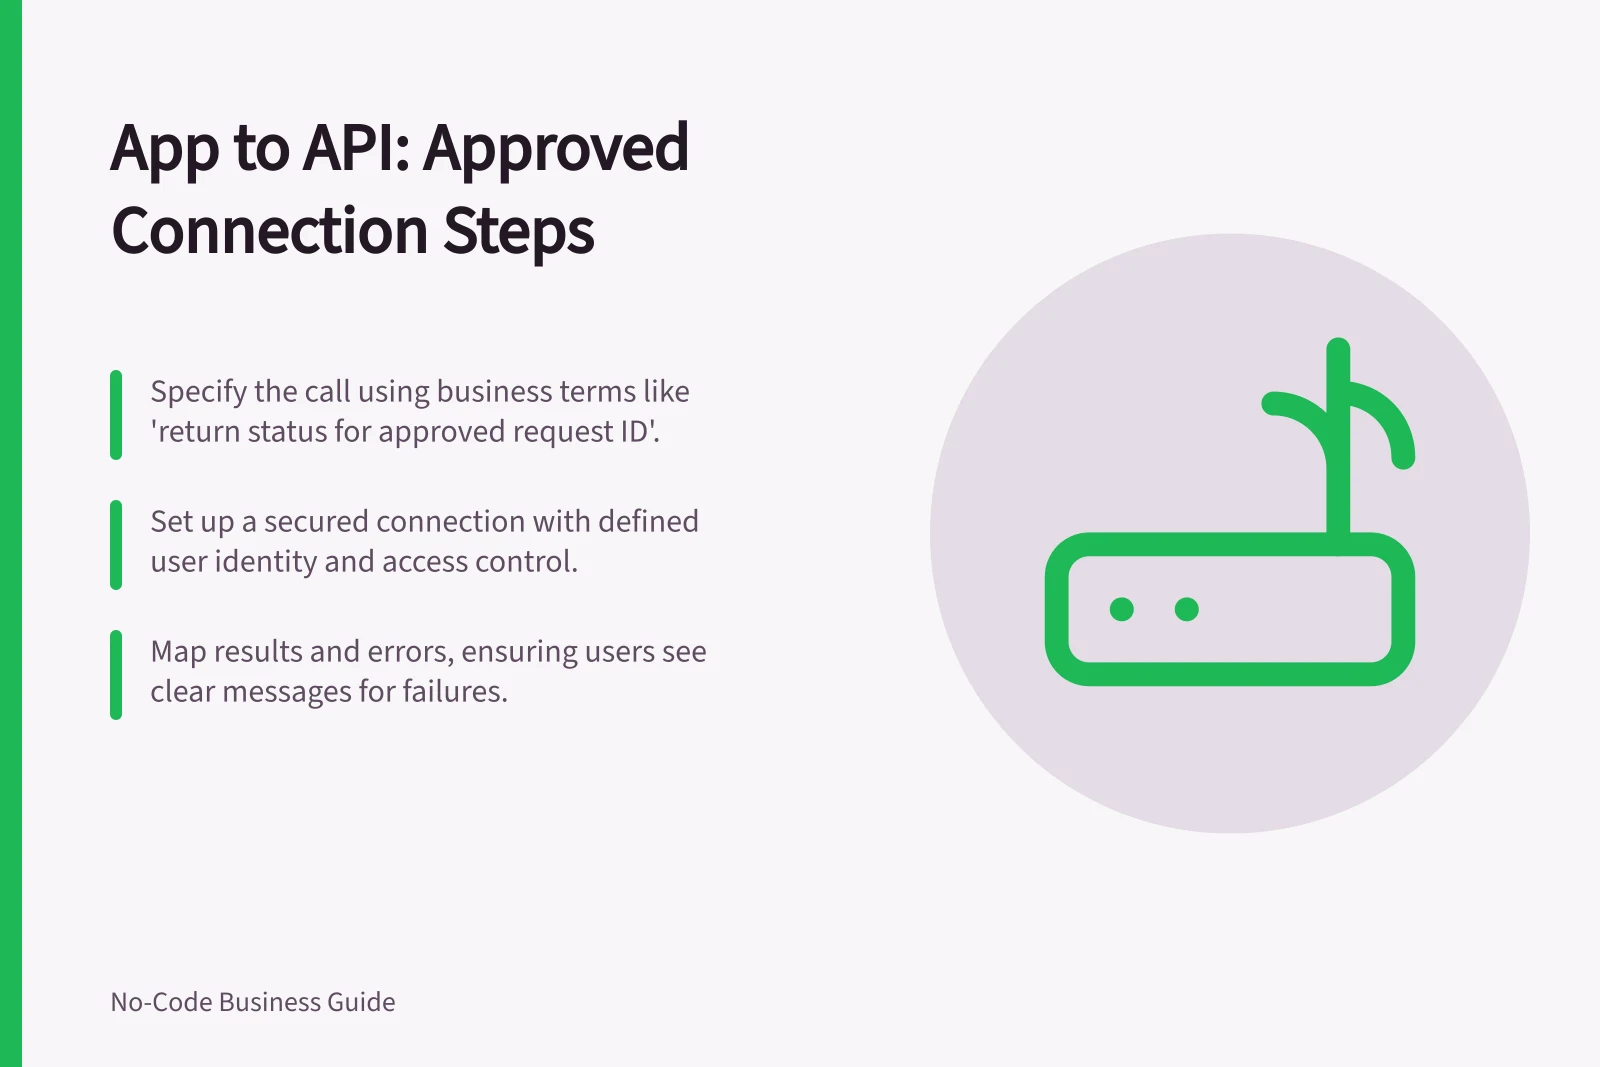
Specify the call
Write the operation in business terms: “Given an approved request ID, return its current status.” Record the API owner, supported endpoint, required request fields, useful response fields and expected error responses. Identify which system owns the status.
If the app only needs a lookup, do not add a write operation to its design. Check the API's documentation for authentication, required fields and usage limits. Do not assume a connector action with a familiar name performs the intended business operation.
In Power Apps and Power Automate, a custom connector defines a host, authentication and operations and offers a test step. Configuration and a successful connector test do not themselves establish business approval.
Set up an owned connection
Agree which identity will call the API, who may authorise it and who will renew or revoke its access. Use the platform's supported connection or secret facility, and keep credentials out of visible app fields, shared setup notes and URLs.
Check sharing in the chosen builder. Microsoft says some resources used by canvas apps are shared automatically, while others require extra steps. Some connections require users to create their own connections and explicitly grant security privileges. A call that works for the maker therefore does not establish that every intended user can make it.
Map the result and its failures
Give each request field a source and validation rule. Give each returned field a purpose on the screen or in the workflow. Keep a stable source identifier if later results must be matched to an app record.
Define what users see for an unknown ID, denied access and temporary unavailability. An empty or uncertain response should not silently appear as success.
Before release, check the configured operation with fictional data and the intended user identities. Compare the app's message with the API result and, for a write, the resulting state in the source system.
If a write times out, establish how its outcome will be checked before the request is repeated. Record the approved call and its owner so a new field or action triggers another access review.
Before and After: Connecting an App to an Approved API
- Before ApprovalApp may use connector actions without business validation; credentials exposed in URLs or notes.
- After ApprovalOnly approved operations are used; credentials secured; access granted per intended user roles.