Data Modelling
Building internal business apps without code
Plan an internal no-code app around one task, clear records, access rules, practical checks and ongoing ownership.
An internal app is useful when staff need a dependable way to enter, find or update information as part of a task. Start with one task and the people who perform it. Decide where its records live, who may change them, and how the team will know the app is working. A builder can supply screens and forms; it cannot decide those business rules for you.
Describe the work before designing screens
Follow one real task from start to finish. Who starts it, what information do they have, and who acts next? What shows that the work is complete? Note exceptions, such as a missing detail or a request sent to the wrong team.
For example, a team might replace a shared spreadsheet used to track equipment handovers. A useful first version could let an authorised employee record a handover and a supervisor find items still awaiting confirmation. It need not reproduce every column and report in the spreadsheet.
Write a short outcome statement: “A supervisor can identify unconfirmed handovers without reconciling two lists.” Use it to judge proposed features. If a screen does not help someone record, check or resolve a handover, leave it out of the first version.
Check whether no-code fits the task
No-code tools let people configure applications visually without writing code. Low-code tools may combine visual tools with some coding.
A faster first build does not guarantee a lower overall cost. Costs can include licensing, maintenance and integrations, so consider what the app will need after its initial release, not just the effort to create it.
Before release, decide who can create or change apps and how changes are reviewed. Also decide who checks security, integrations and scalability as use grows.
No-Code vs Low-Code Tools: Key Differences for Australian Businesses
- No-Code ToolsVisual configuration only; no coding required. Ideal for simple workflows like equipment handovers.
- Low-Code ToolsCombines visual tools with optional scripting. Suitable for complex integrations and custom logic.
Key Considerations Before Deploying a No-Code App in Australia
- Ongoing Costs
- Include licensing, maintenance, and integration fees – not just initial build effort.
- Ownership & Access Control
- Define business and technical owners; limit maintenance access to trusted staff.
- Data Source Authority
- Identify the system holding the authoritative record to avoid duplicate data.
Choose the smallest useful app boundary
An app makes sense when a person needs to interact with a record: submit information, inspect its current state or make a permitted change. If the whole job is to transfer information after an event, an automated integration may be enough. Some workflows need both: an app for a person's decision and an integration for the subsequent transfer.
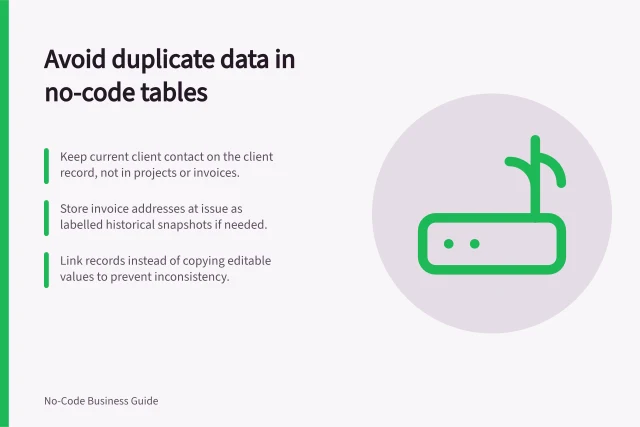
State which system holds the authoritative record, what the app may write and which changes must return to the source system. Avoid editable copies of the same fact in two places unless there is a rule for resolving differences.
Define records and access
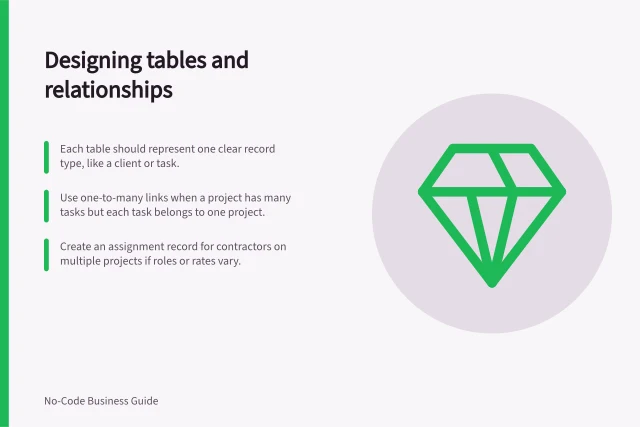
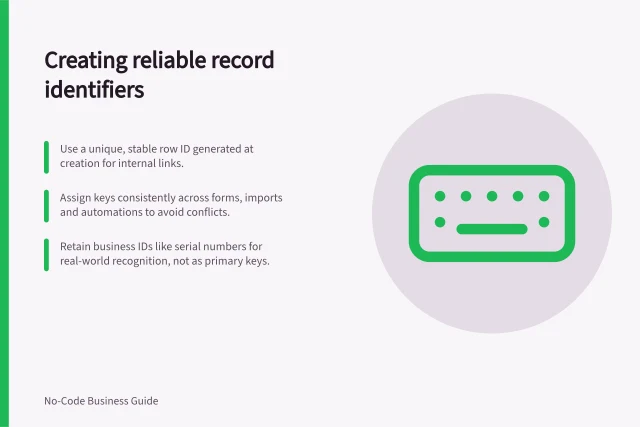
List the records the task needs, then give each important field a purpose. A handover record might need an item identifier, the people involved, a date and a confirmation state. Decide which values can be unknown when a record is created and which must be present before it is complete. A missing confirmation is different from an explicit rejection.
For each user group, mark whether it may create, read, edit or close a record. Check the underlying data source as well as the app screen. Microsoft says sharing a Power Apps canvas app also requires attention to permissions for its data sources and dependent resources.
A hidden button does not establish permission. Check what each user can retrieve or change through the routes available to them, and limit app maintenance access to the people who need it.
Build one complete path
Make the first usable path narrow: open the app, find or create the right record, enter the necessary information, save it and see a clear result. Provide a way to correct a mistake and an owner for records that cannot proceed. Use labels that match the team's language.
Add an alert only when someone needs to act on it. Decide what triggers it and what the recipient should do. A status inside the app may be sufficient; a person who must act away from the app may need a notification.
Check the configured app before wider use
Ask intended users to work through fictional records, including an ordinary case, missing information, a correction and a record they should not be able to access. Check saved data and connected actions as well as screen messages. A builder's preview alone cannot establish that the workflow or permissions are correct.
Start with a small authorised group. Before replacing an existing process, check that records have arrived, staff understand the status labels and someone can handle exceptions. If both processes run during a transition, assign someone to reconcile their records so neither becomes an unnoticed second source of truth.
For a Microsoft canvas app, sharing is a separate step from publishing. Microsoft requires the app to be saved online and published before it is shared, and recommends giving it a meaningful name and description so people can find it and understand its purpose.
Microsoft lets an app maker share with individual users or a security group in Microsoft Entra ID. Its sharing options distinguish a user, who can use the app, from a co-owner, who can also edit and share it but cannot delete it or change its owners.
After making changes to a shared Microsoft canvas app, save it again. Publish it again for others to see those changes.
Give the app an owner
Name a business owner for field meanings and decisions, and a technical owner for access, connections and releases. Record where the data lives, who can change the app, how a new user gets access and how the team will recover from a bad change.
Expand when the first task works reliably and the next task has a clear user and outcome. If requirements grow into complex shared data, sensitive access rules or frequent integrations, review the design and platform limits before adding more screens.
In this guide
- No-code apps versus automated integrationsDecide when staff need an app, when an automated transfer is enough, and when one workflow needs both.
- Choosing a low-risk first no-code projectUse clear consequences, ownership, a small release and a recovery route to choose a sensible first no-code project.
- Defining the users and task before selecting a builderCreate a short task brief covering users, permissions, records, exceptions and a result to check before choosing a builder.